Interactive · 1 question
First of all, it is important to know what a free-body diagram is.
What do you think a free-body diagram represents?
Note the distinction between the two very similar options above. First of all, let us follow the standard steps for drawing such a diagram.
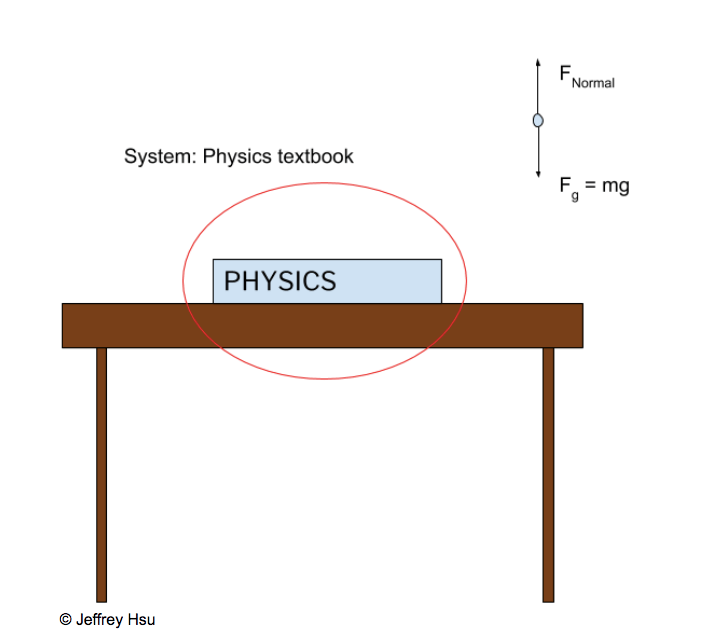
Step 1. Identify the object you will draw a diagram for. A free-body diagram must be done for one object only, since it represents the forces applied on that object alone. If you are interested in all the forces on a set of objects, you must draw free-body diagrams.
Step 2. Identify all the forces on the object. If you know where the forces are coming from, great, but it's not relevant to drawing the diagram.
Step 3. Draw arrows for each force pointing in the appropriate direction remember, forces are vectors! It is often convenient to draw the arrows from the point of contact. For example, the force is gravity is drawn from the center of mass of the object (if you are giving the object a shape in the diagram) downwards.
At this point, you are basically done, congratulations! From here, if you are interested in particular components of some forces, you should draw the component vectors in a different color or with dotted arrows as opposed to the solid arrows that you used to draw the resultant force vectors.